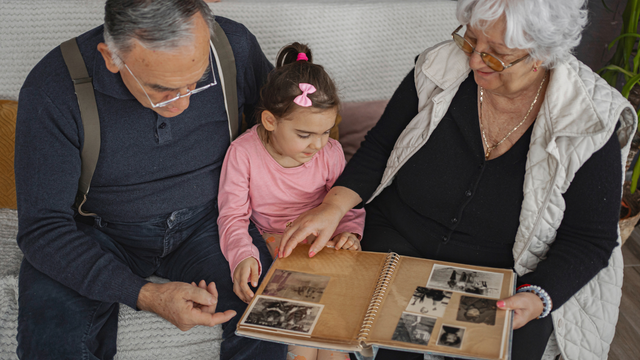
You’ve opened a dusty box of old family photos. Some are fading, others curling at the edges. You realize these snapshots—your grandparents’ wedding, your child’s first birthday, your family vacations—won’t last if left in a drawer. The question is: how to digitize photos in a way that preserves them and makes them easy to share?
The good news: you don’t have to do it alone. With the right plan and tools, your memories can be safe, clear, and ready to enjoy for generations.
Why Digitizing Photos Matters
Printed photos are fragile. Over time, they fade, tear, or suffer from water and mold damage. By digitizing, you:
- Protect against loss or damage
- Make sharing simple with family and friends
- Create a searchable archive that brings stories back to life
Digitization transforms cluttered boxes into organized digital albums.

DIY vs. Professional Photo Scanning Service
When learning how to digitize photos, you’ll likely weigh two paths:
- DIY scanning with a flatbed scanner or phone apps. This can work for a handful of images but is time-consuming and often results in lower quality.
- Professional photo scanning service, like America’s best digitizing service, which uses high-resolution scanners to capture every detail. This option saves time and ensures archival-quality results.
For most families with hundreds of prints, professional scanning is the better path.

Step-by-Step: How to Digitize Photos
1. Gather and Organize
Sort your photos by album, event, or decade. This makes it easier to name and organize digital files later.
2. Choose the Right Resolution
Professional services use 600 DPI or higher to capture fine details. If you’re DIY scanning, at least 300 DPI is needed, but higher is better for enlargements and restorations.
3. Select a Trusted Service
With Heirloom, your photos are scanned at high resolution, gently handled, and saved in universally accessible formats like JPG. Explore options like photo albums, photo slides, and photo negatives for complete coverage.
4. Save and Share
Once digitized, store photos securely in the cloud and share them easily with loved ones.

FAQ: People Also Ask
What is the best way to digitize old photos?
The best way is to use a professional photo scanning service. High-resolution scans ensure your photos are preserved in detail and saved in secure digital formats.
Can I digitize photos at home?
Yes. You can use a flatbed scanner or smartphone apps. However, these methods are slower and may not capture the same quality as professional scanning.
What resolution should I scan photos at?
At least 300 DPI is recommended, but 600 DPI is ideal for preserving detail, enlargements, and future restorations.
How much does it cost to digitize photos?
Costs vary by volume and service provider, often ranging from $0.25 to $1 per photo. Bulk discounts are common.
Why should I digitize my photos?
Digitization protects fragile prints, makes sharing easy, and creates a lasting archive that outlives paper photos.
Recommended Next Reads
Photo Album Memories: How to Scan, Save & Share What Matters
How to Convert Slides to Digital: A Simple Guide to Saving Priceless Photos
Convert Negatives to Digital Photos: The Simple Way to Save Your Past
Cheapest Digitizing? Why That Could Cost You Everything
Photo Scanning Service: Your Memories Deserve More Than a Shoebox
📧 Want more tips like this?
Subscribe to Heirloom emails to get expert tips on memory preservation, exclusive discount codes, and early access to digitizing services. We never spam, and it’s easy to unsubscribe anytime.


